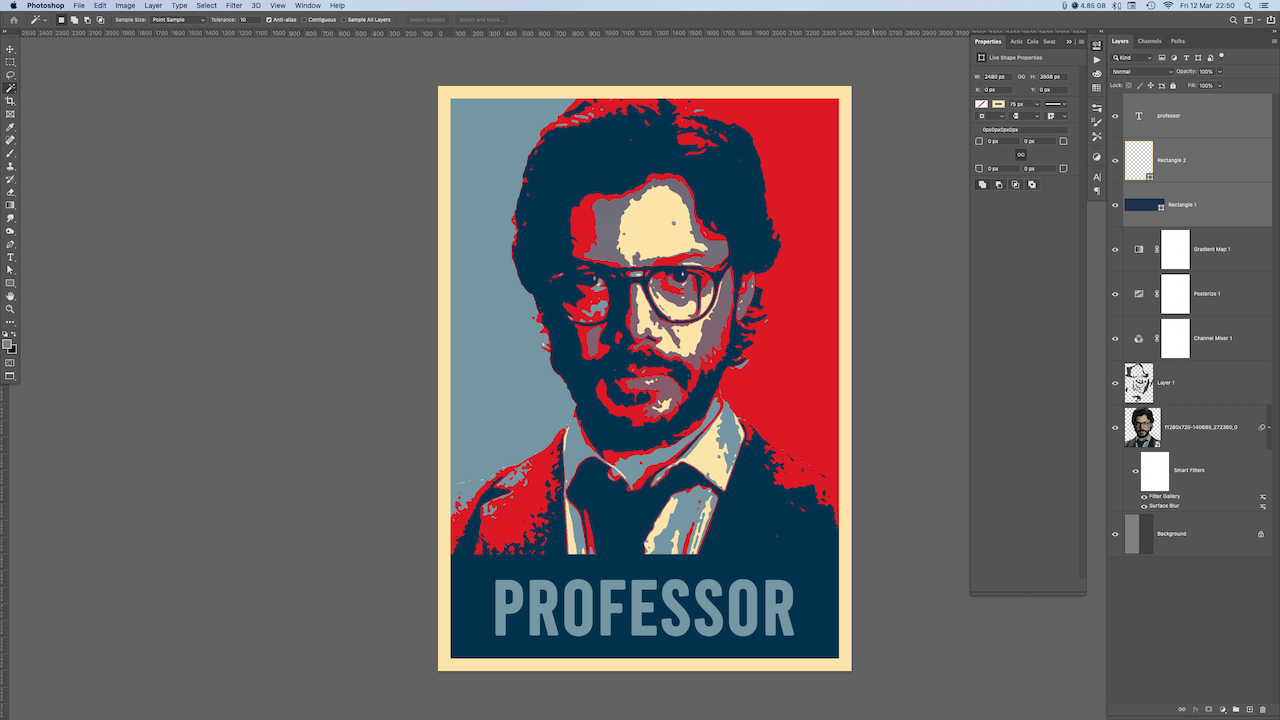
In this tutorial we are going to create some art in Obama style poster, that is the iconic “HOPE” poster designed by Shepard Fairey for Obama’s 2008 Presidential campaign. We will use picture of “El Profesor”, character from La Casa De Papel Tv show.
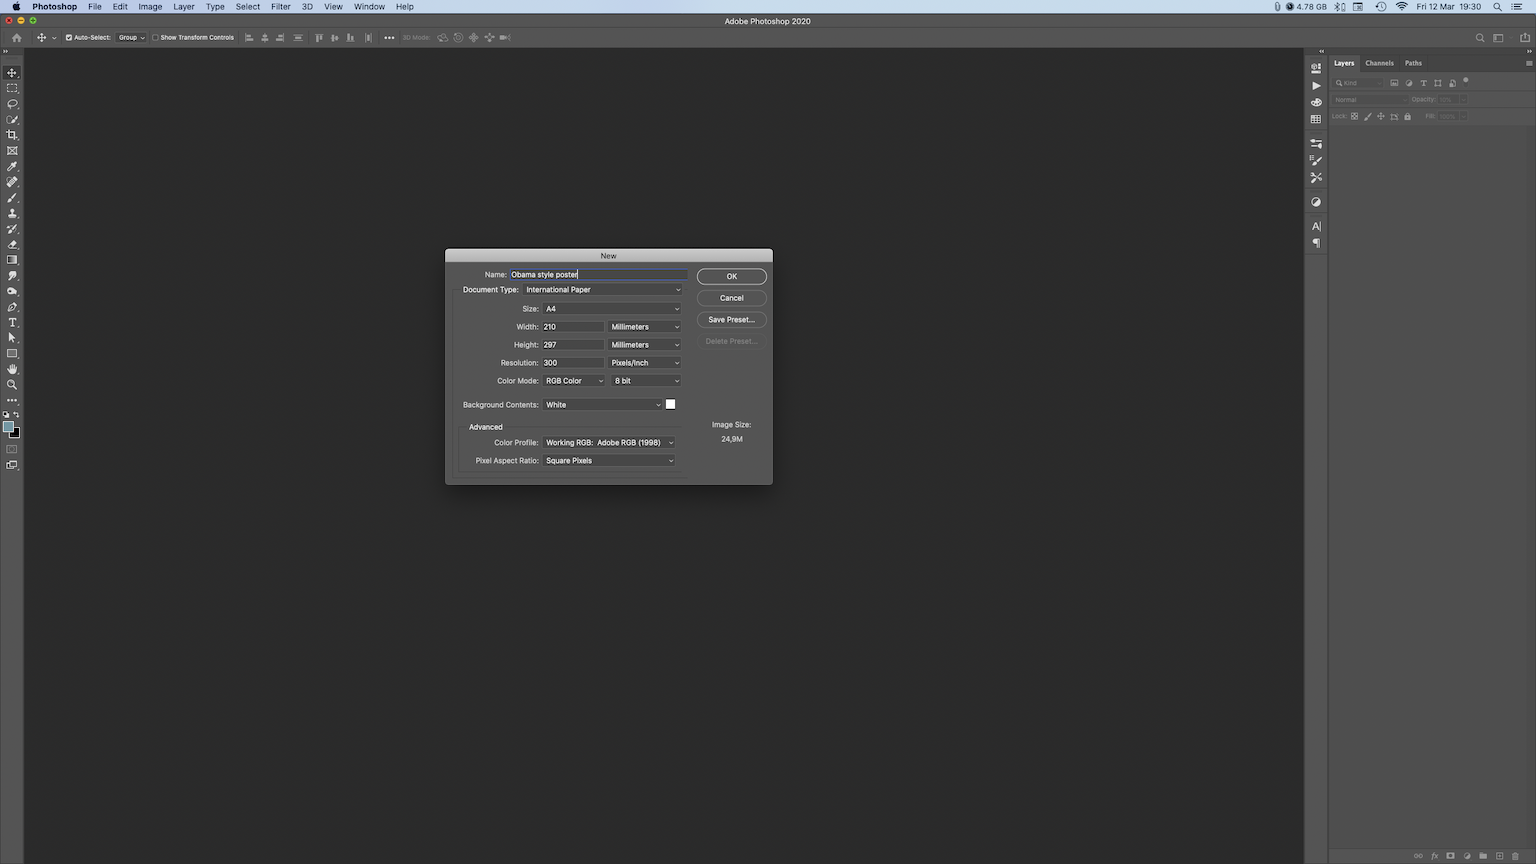
First open new file in Photoshop, A4 size, 300dpi, Adobe RGB color profile.
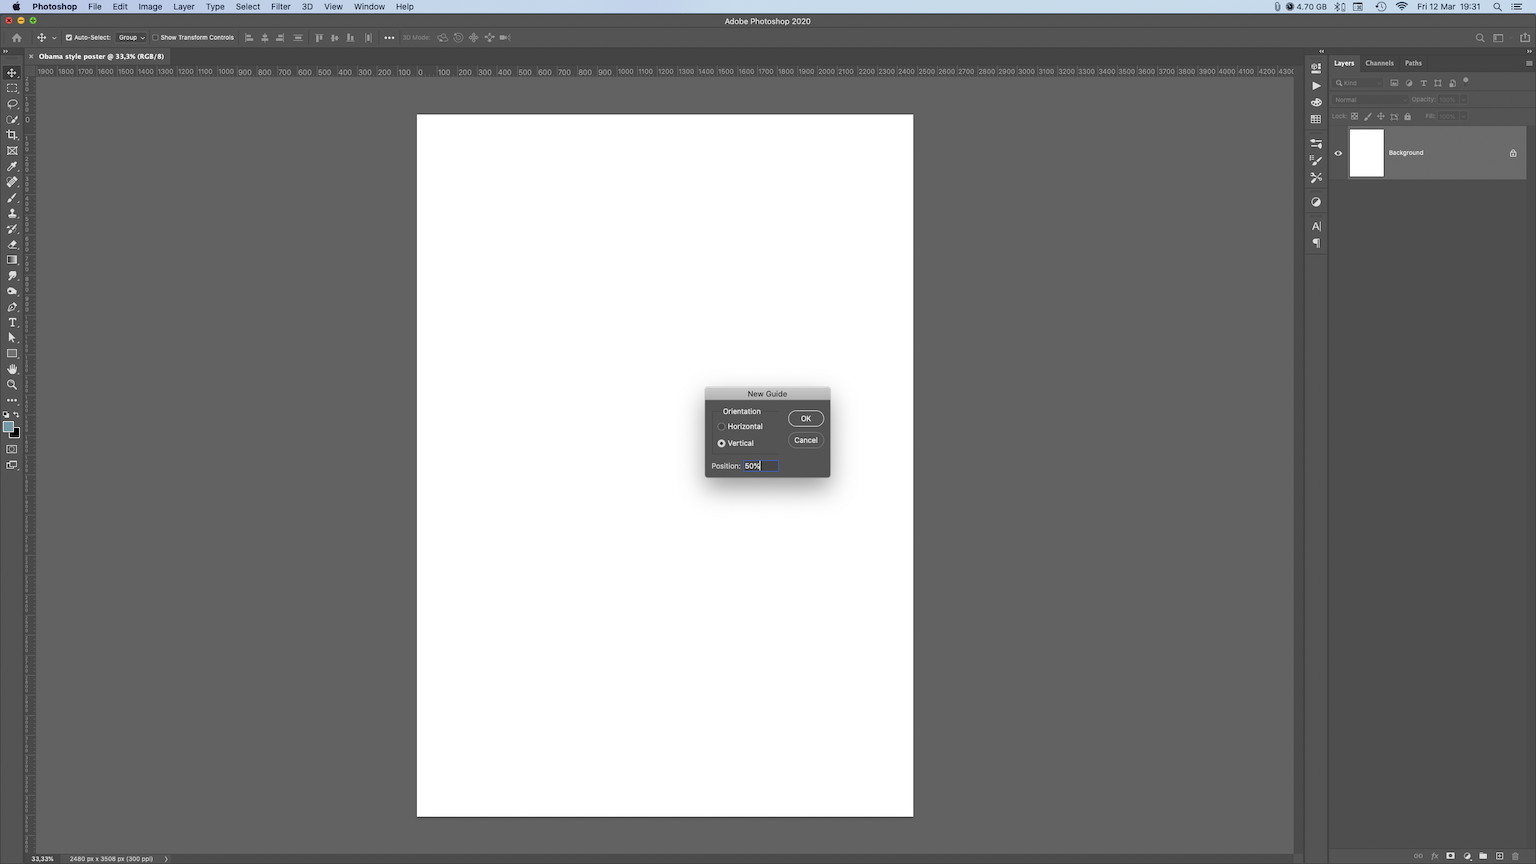
Go to View –> New guide, and make a new guide at 50% vertikal position.
Then use Rectangular Marquee Tool and select left half.

Activate Color Picker and enter following values: H:0 S:0 B:50 After that make a new layer and go to: Edit–> Fill –> Choose: Forderground Color –> Click Ok.

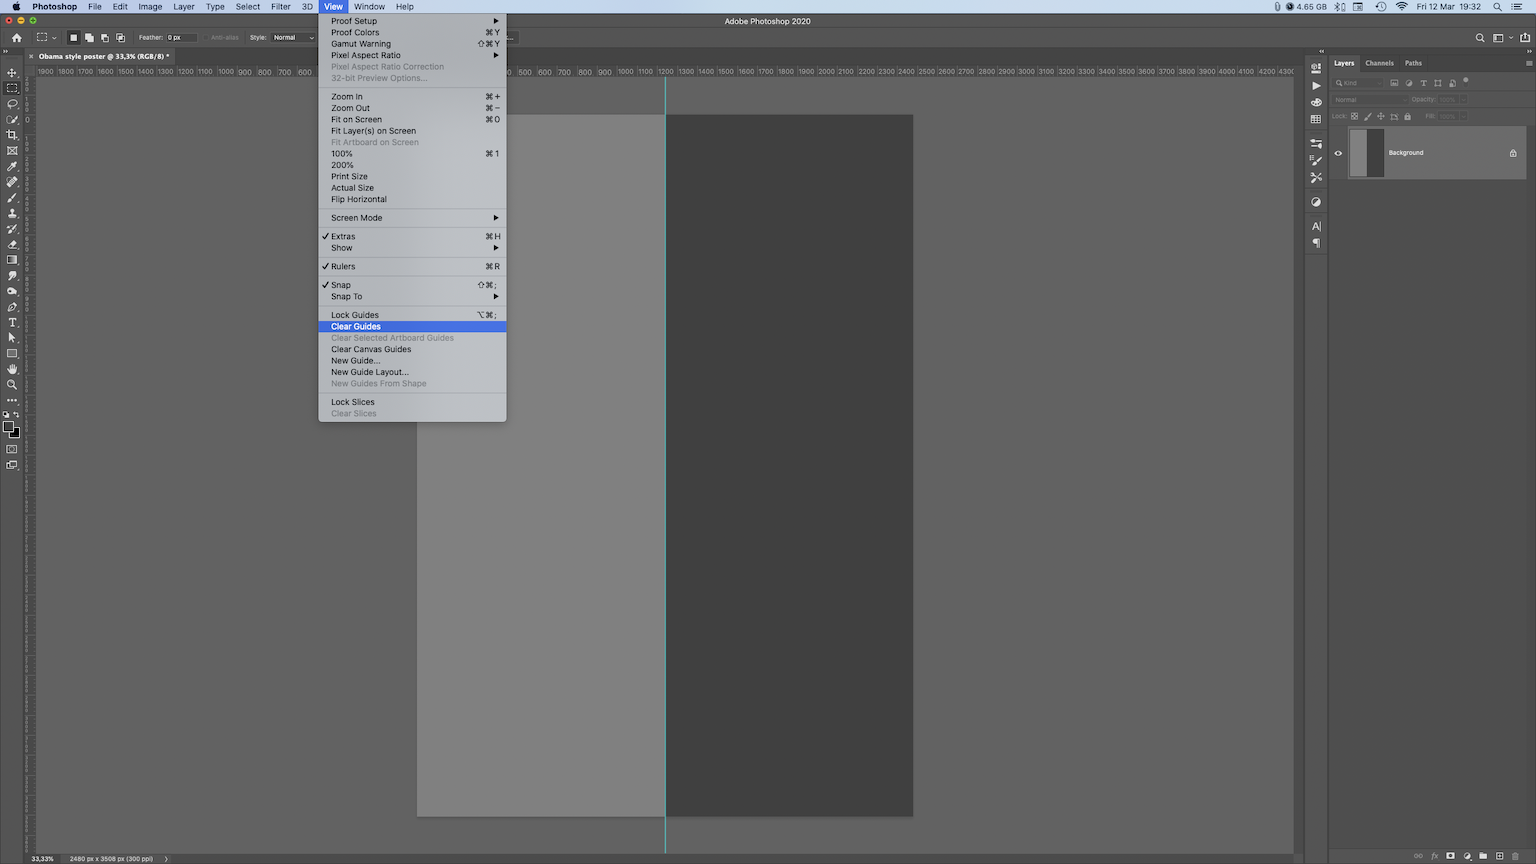
Repeat the same with right side of canvas, but this time color values are: H:0 S:0 B:25 Again, make a new layer and fill it with forderground color, and after that go to View–> Clear Guides, to get rid of that guide.
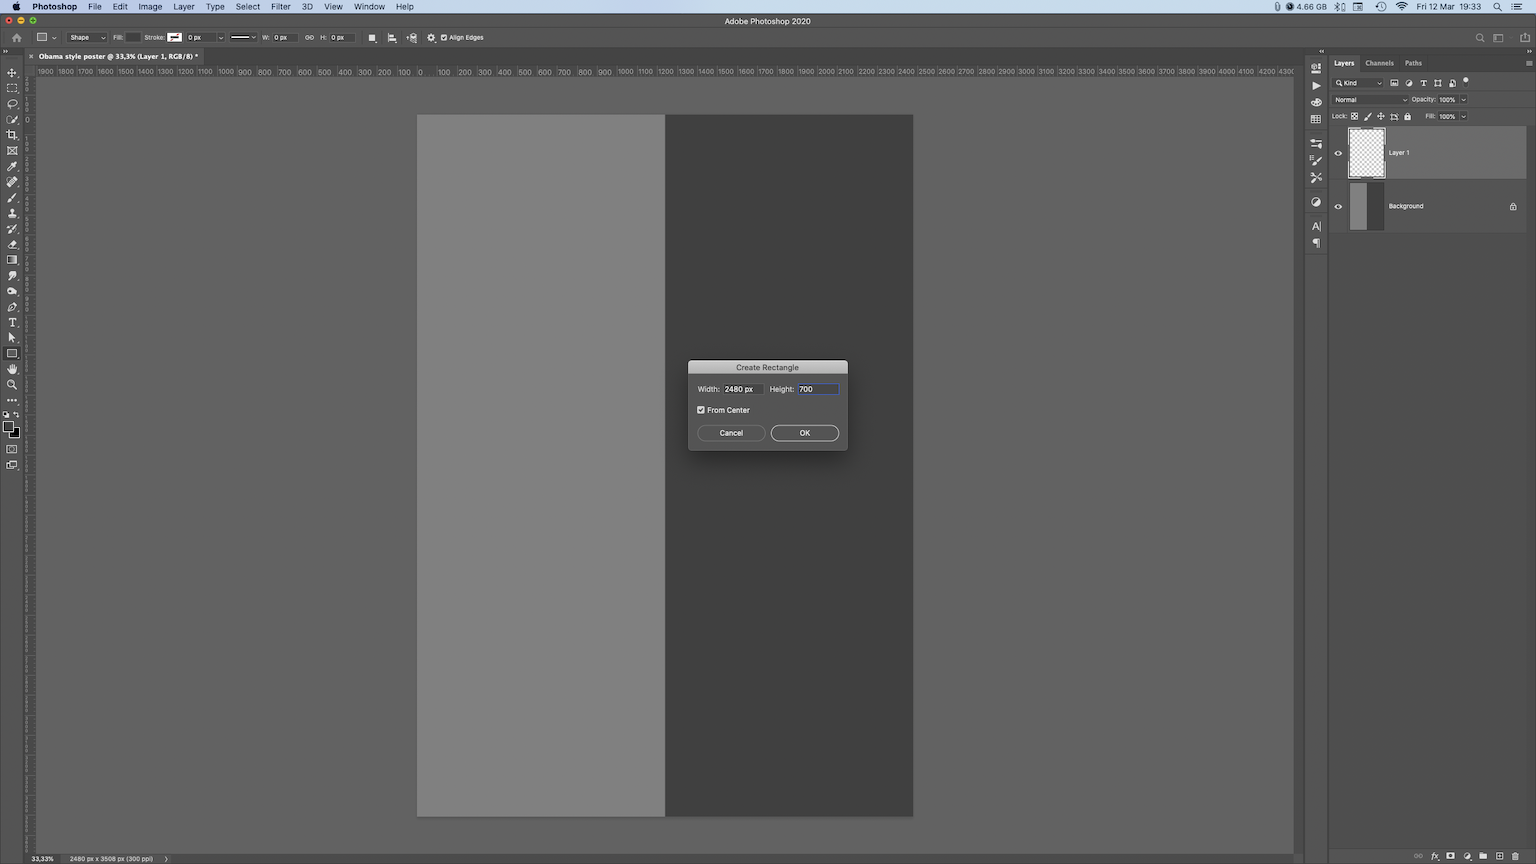
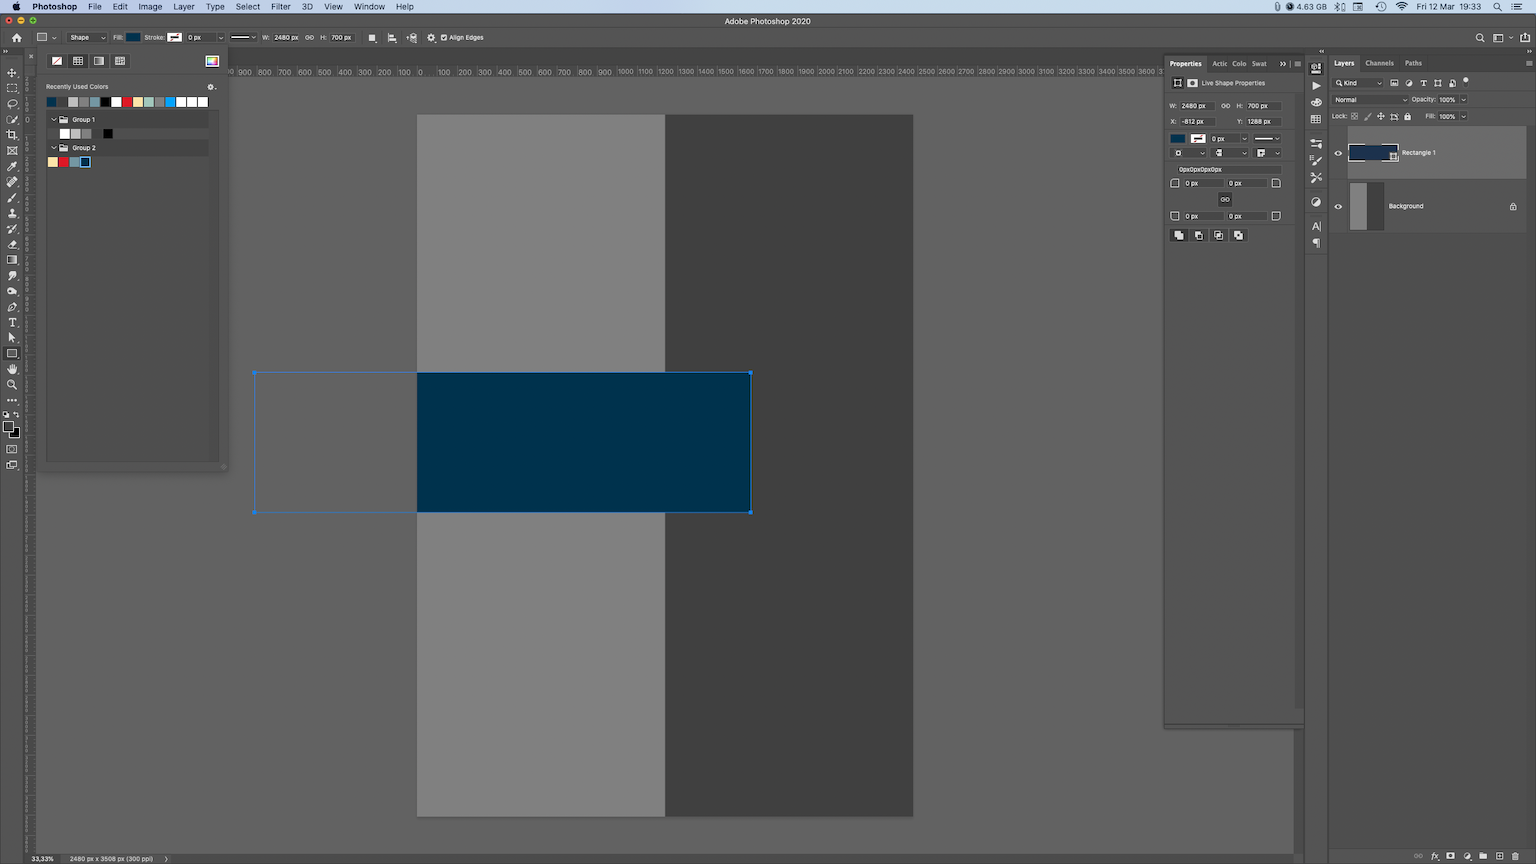
Now make a rectangle with 2480x700px in size, no stroke, for color enter #00324d. Or, if you have already downloaded this tutorial files, you will have all needed colors in your pallete.
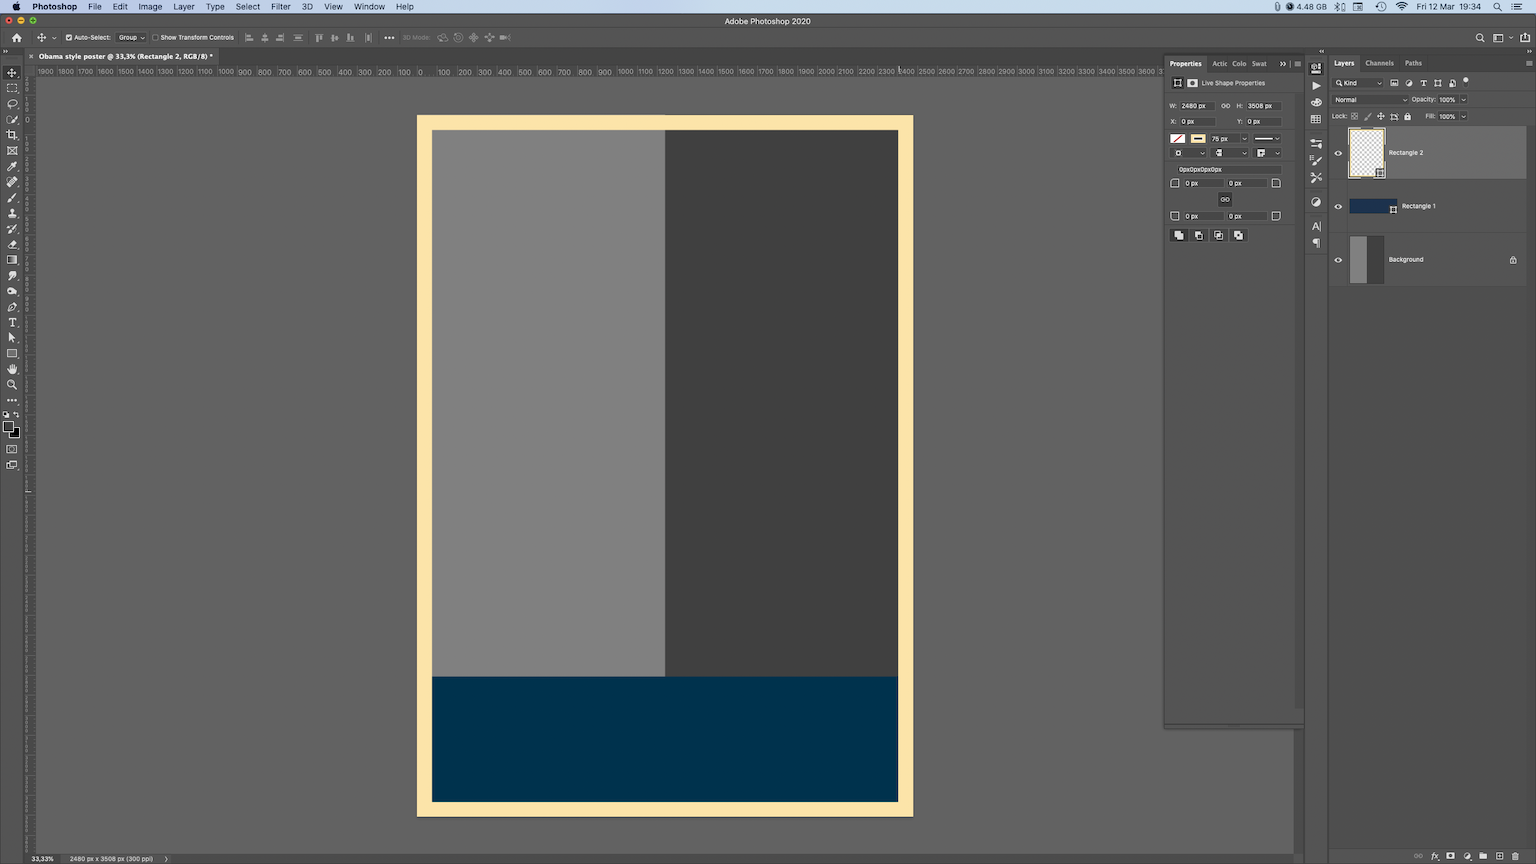
Make one more rectangle, 2480x3508px size, this time with no color fill, but stroke will be 75px with yellow color from palette – #fce4a9.
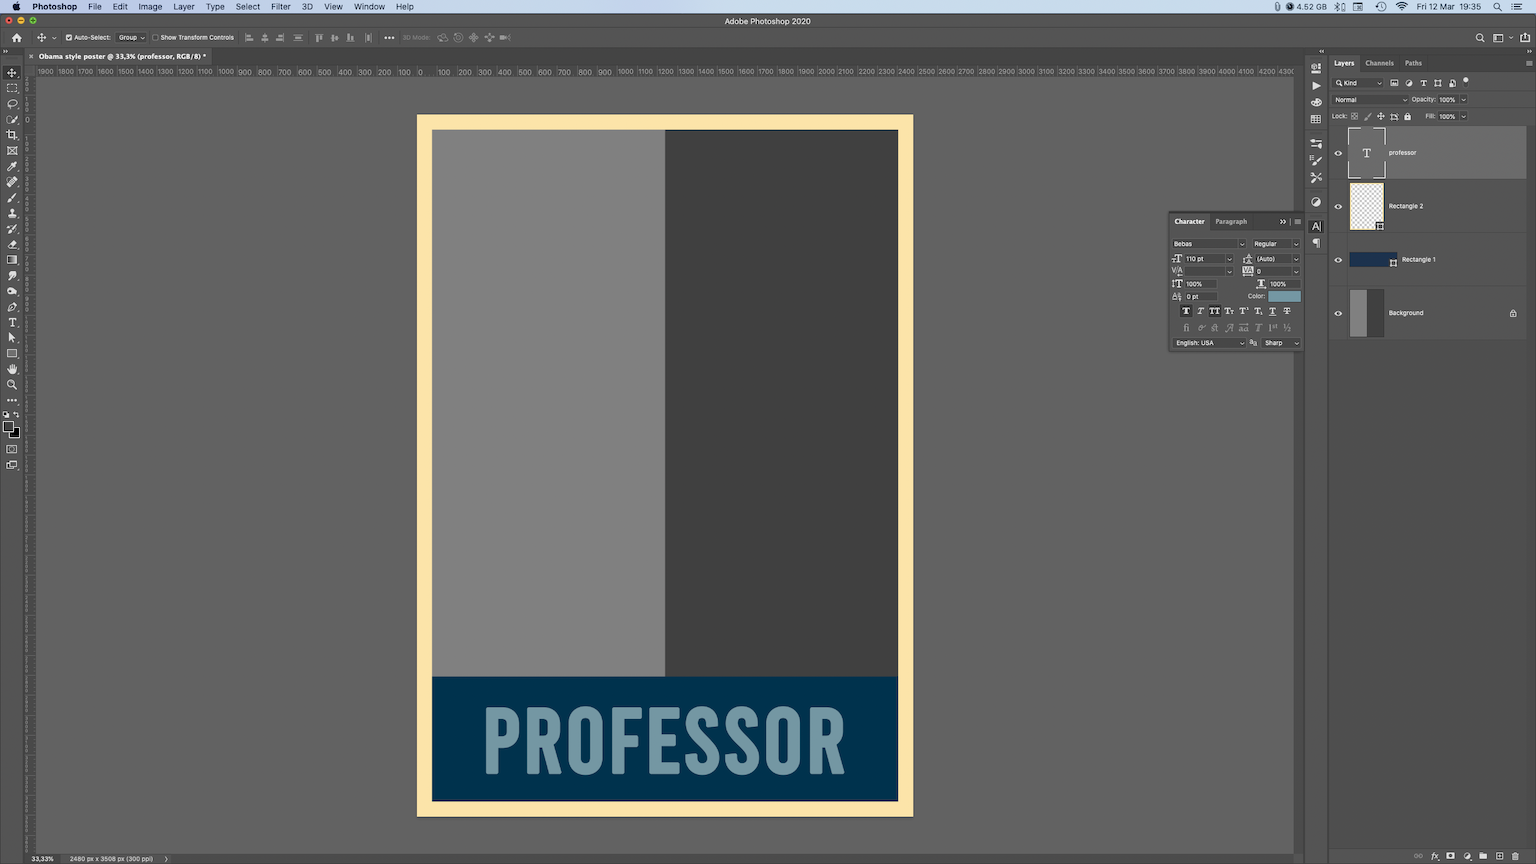
Add some text, I used Bebas font at 110 size, color is #7497a3.
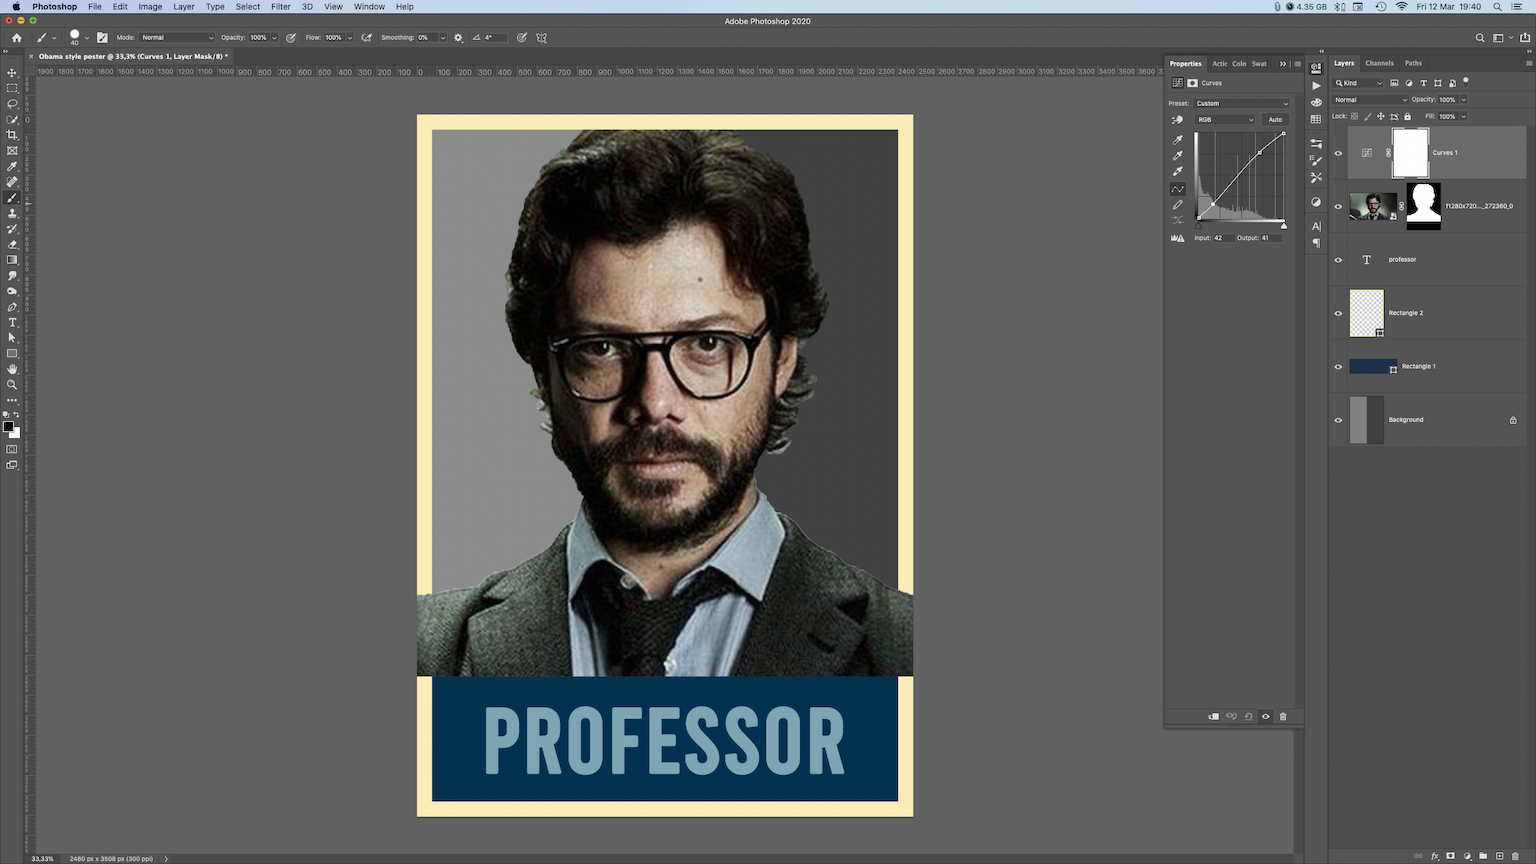
It’s time to import our image. Try to find some photo with a good range of tones from shadows to highlights. You need to cut the background so use your pen, magic wand, eraser, whatever tool you’re comfortable with to do it. You don’t need to be extra carefull here. After that add adjustement layer to boost some contrast, your aim is to get good balance between dark and bright tones.
Now select both image layer and adjustement layer, right-click on layers and choose: Convert to smart object.
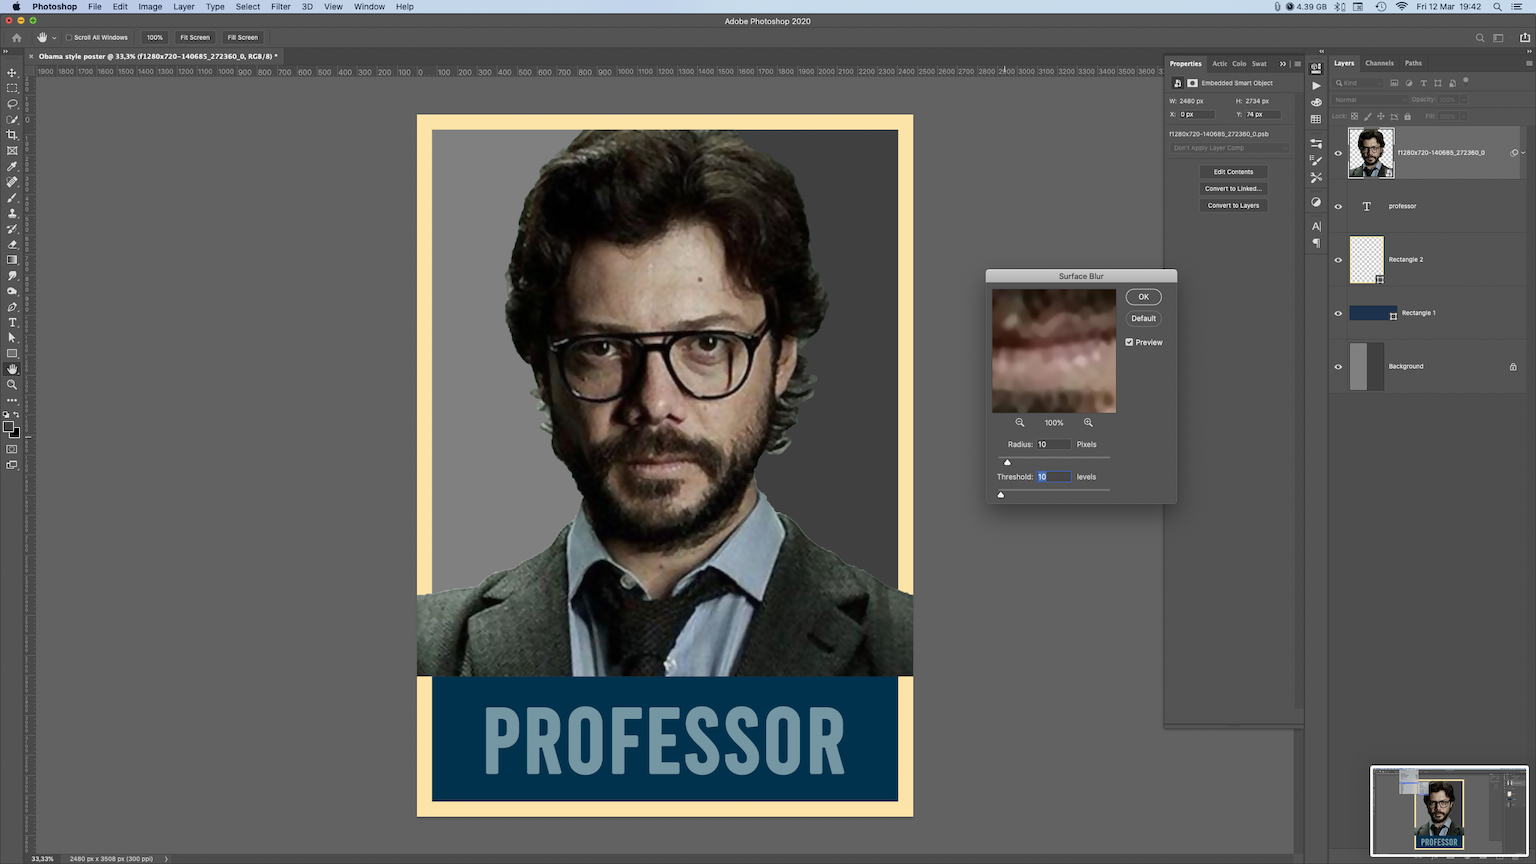
With image layer selected go to: Filters–> Blur–> Surface Blur and choose value of 10 for both Radius and Treshold.
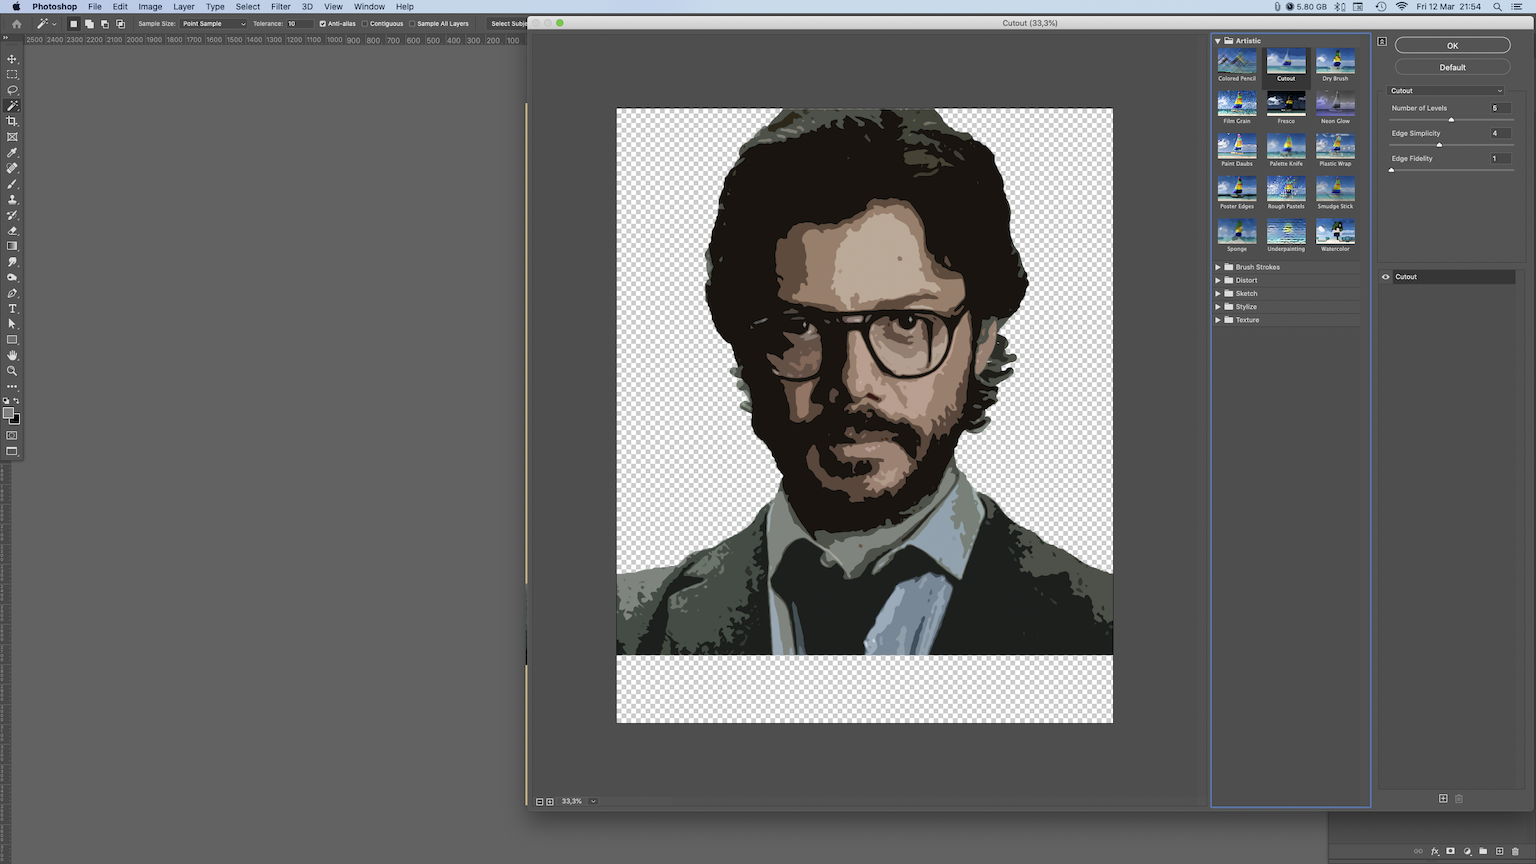
Now go to: Filter–> Filter Gallery–> Artistic–> Cutout–> Number of Levels 5–> Simplicity 4–> Fidelity 1
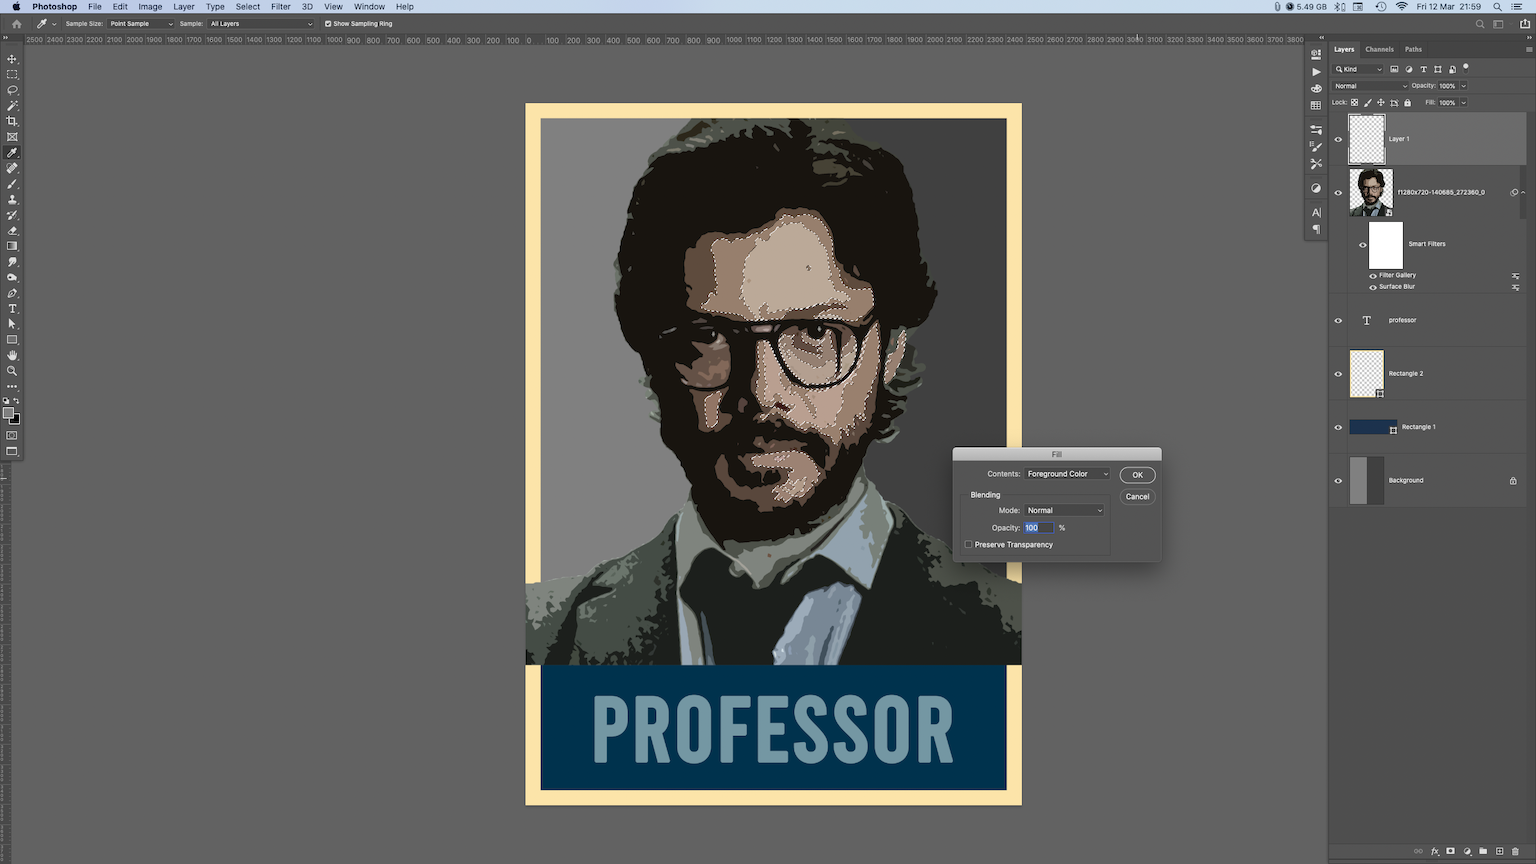
Use Magic wand with tolerance of 10, and Contiguous unselected, and click on the second lightest color. After that make a new layer and fill it with 50% gray, as we did in the beginning.
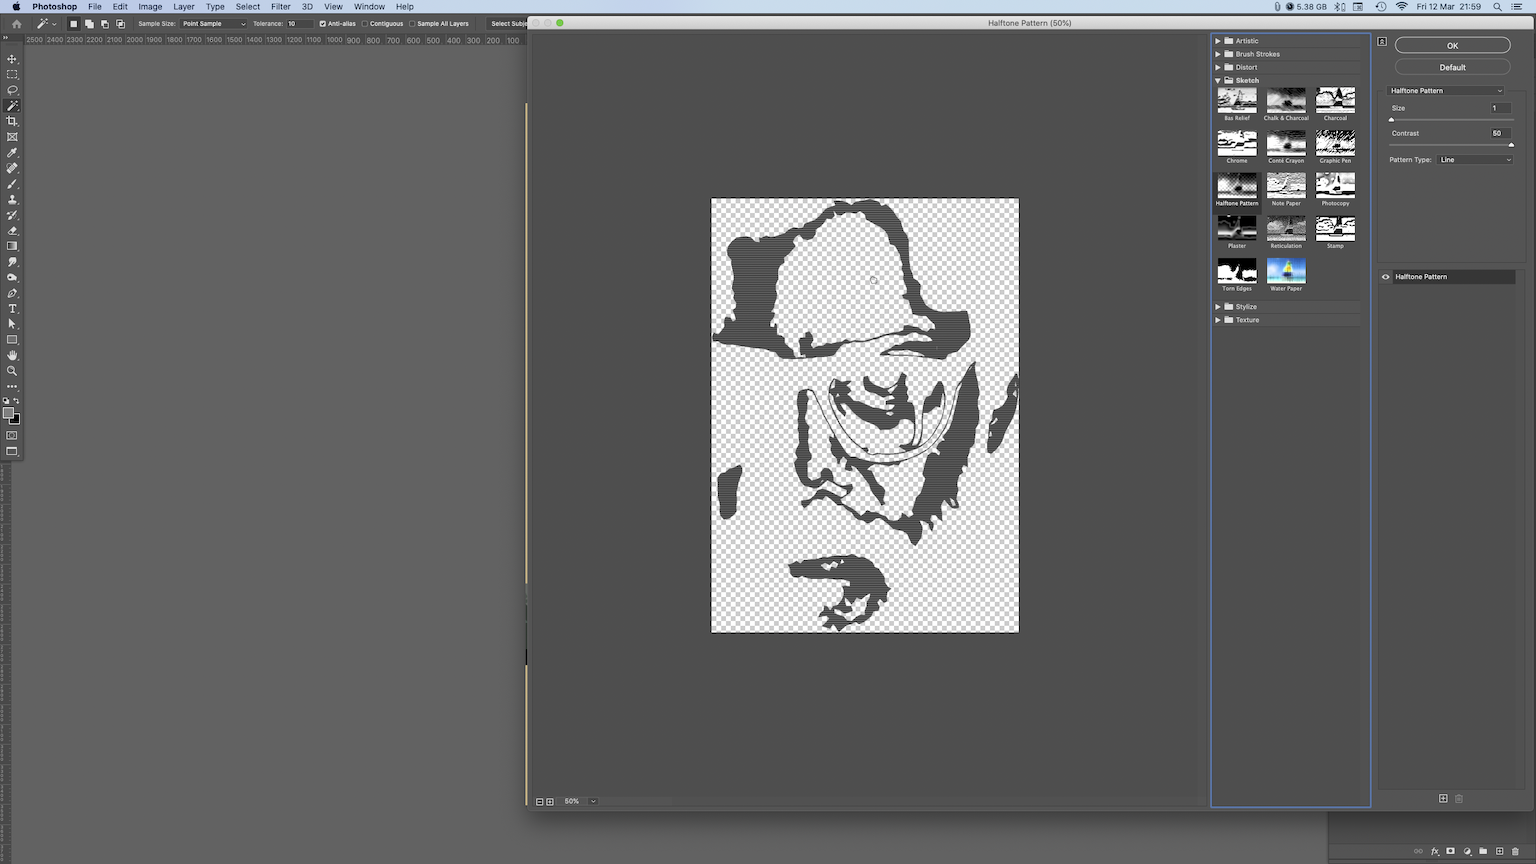
Now you need to go to Filters–> Filter Gallery–> Sketch–> Halftone Pattern and choose Size: 1 – Contrast: 50 – Pattern Type: Line.
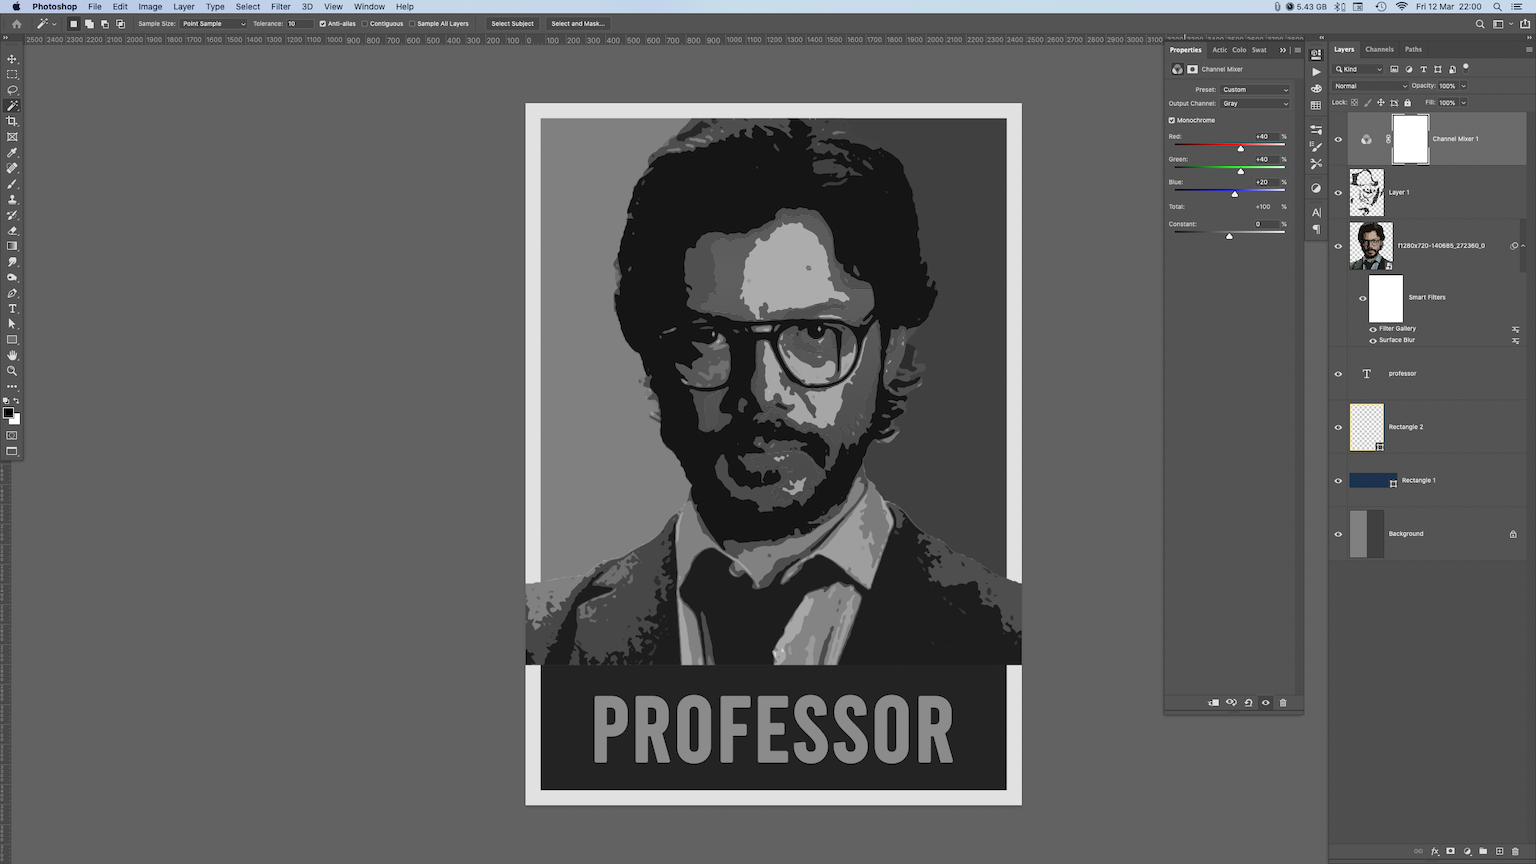
Deselect and go to Adjustements panel, choose Channel Mixer, and check Monochrome.
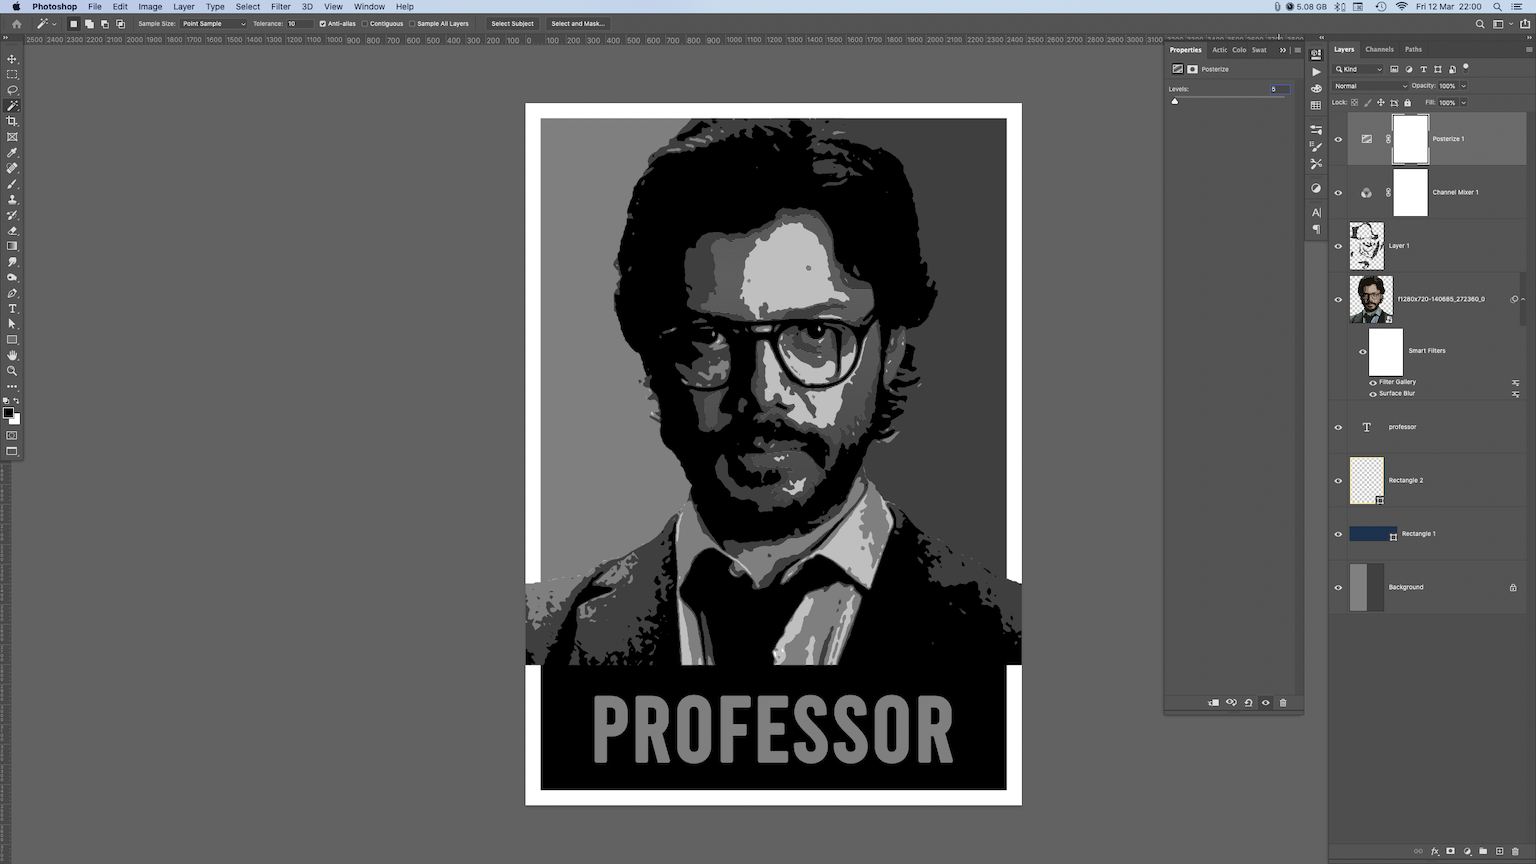
Go to Adjustements panel again, choose Posterize, and enter value 5.
Access Adjustements panel one more time and choose: Gradient Map. Click on gradient bar and make stops at 25%, 50%, and 75%.
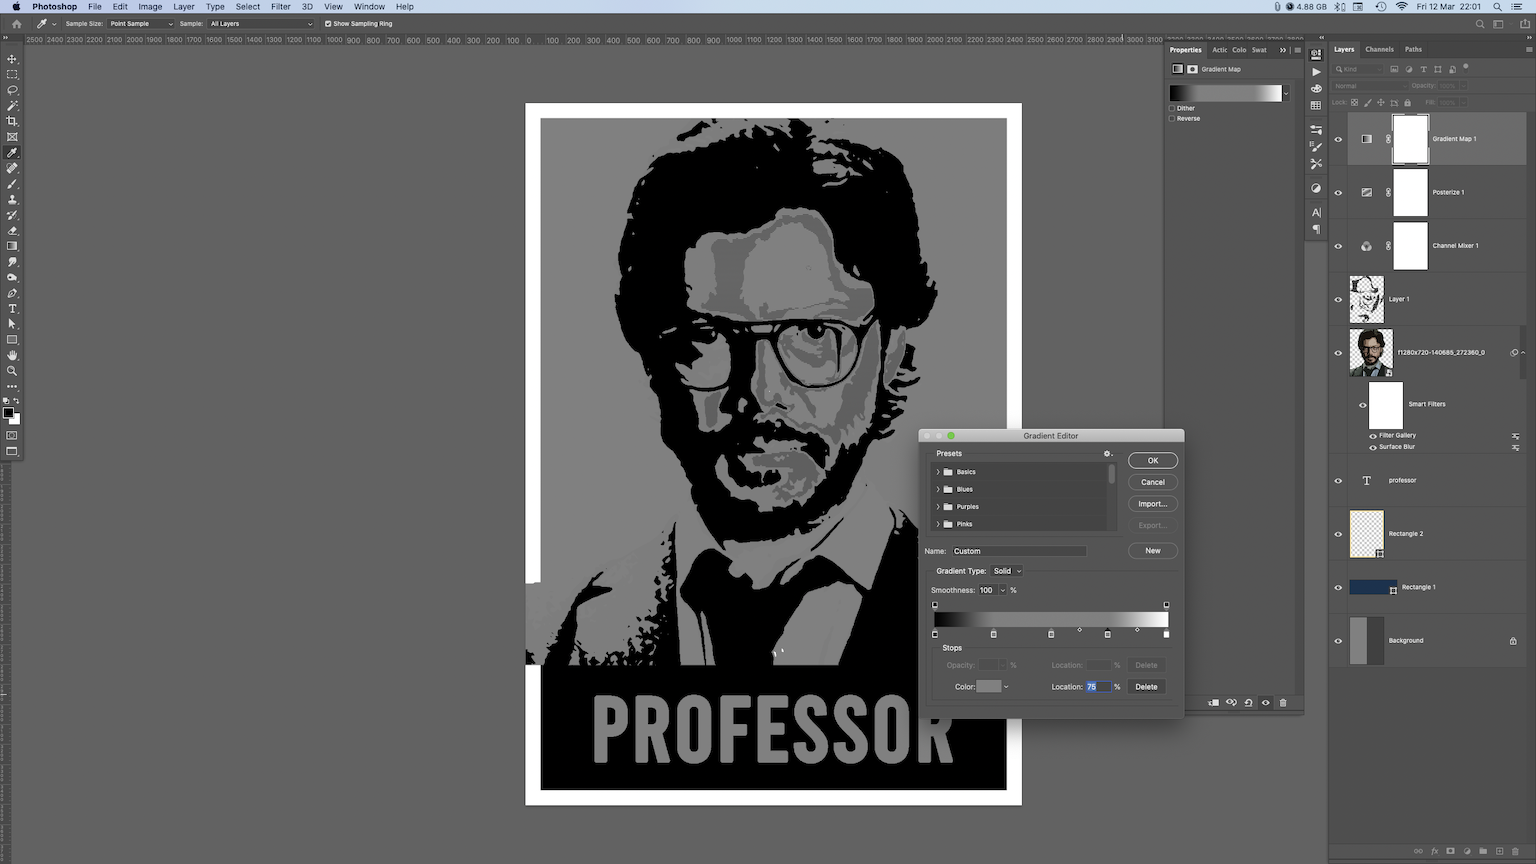
Enter following color values: 0% = #00324d 25% = #de1825 50% = 7497g3 75% and 100% = #fce4a9
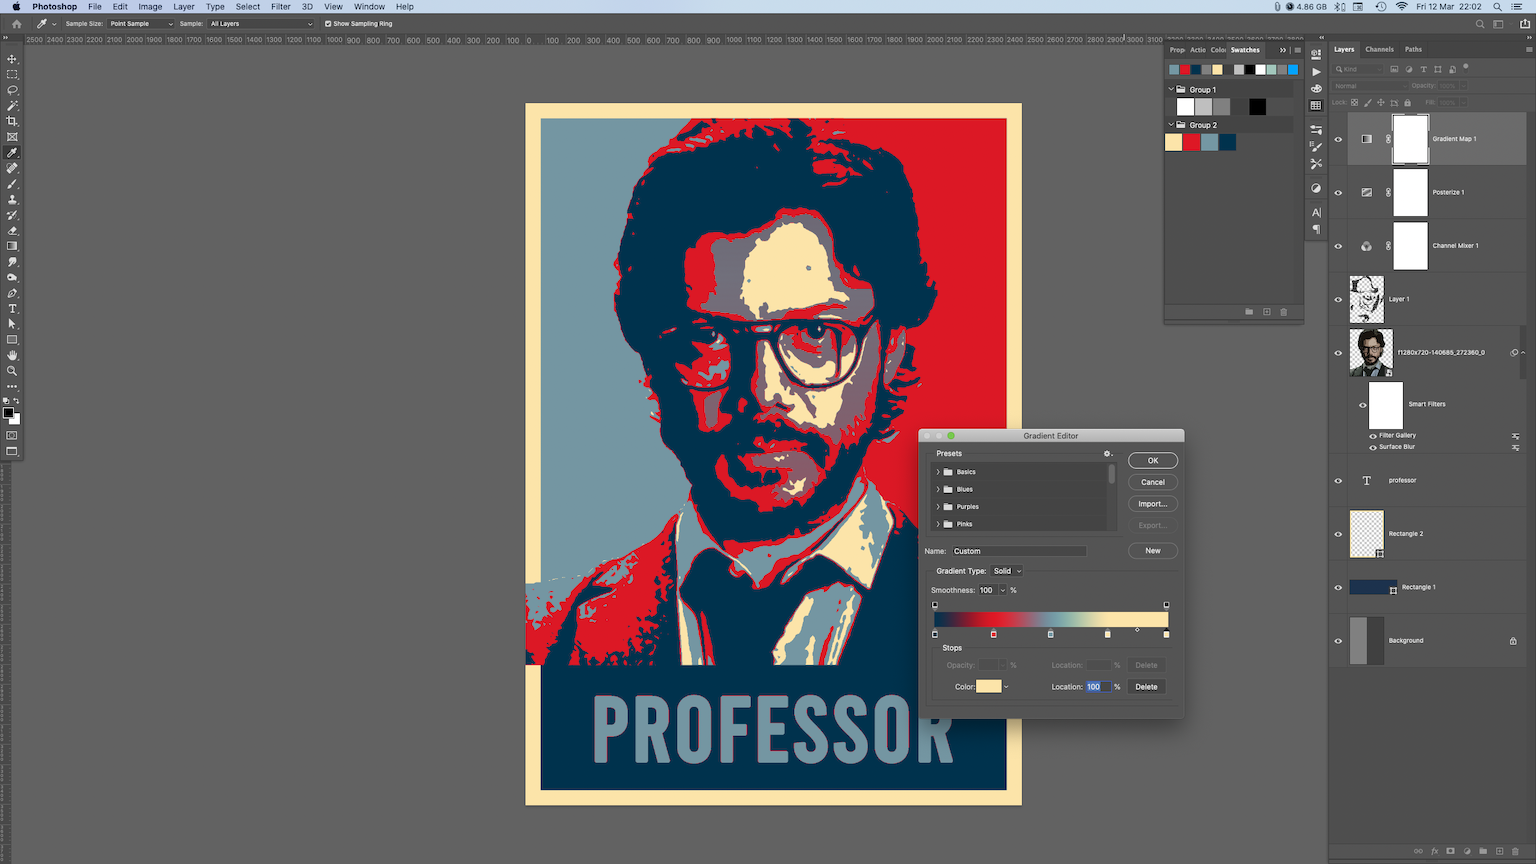
Now you only have to select text and two rectangles layers, and drag them on top.
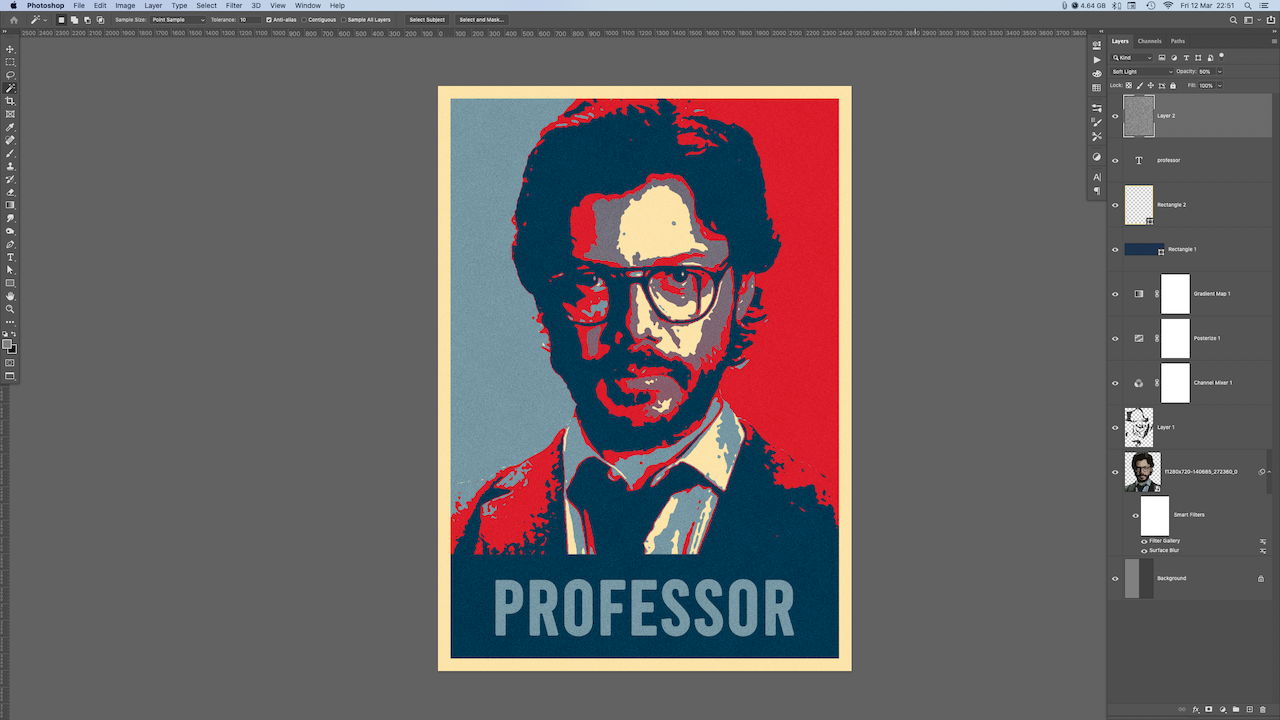
Congrats, you finished this Obama style poster exercise, and made your new art piece. You can go an extra step and add some grain to make it more organic, if you’d like. Just make a new kayer, go to Filter–> Render–> Clouds, then again Filter–> Noise–> Add Noise–> crank it up to about 300%. Change that layer blending mode to Soft light, and turn the opacity down to about 30%.
There is a download link at the end of the page, where you can get this tutorial files. I’ve prepared PSD layered file with the basic setup, and also color swatches that you will use. You just need to choose suitable image.
Let us know what you created following this tutorial, send a link to your new art in comment section.